A Step-by-Step Guide to Maintaining Your Water Filter System Like a Pro
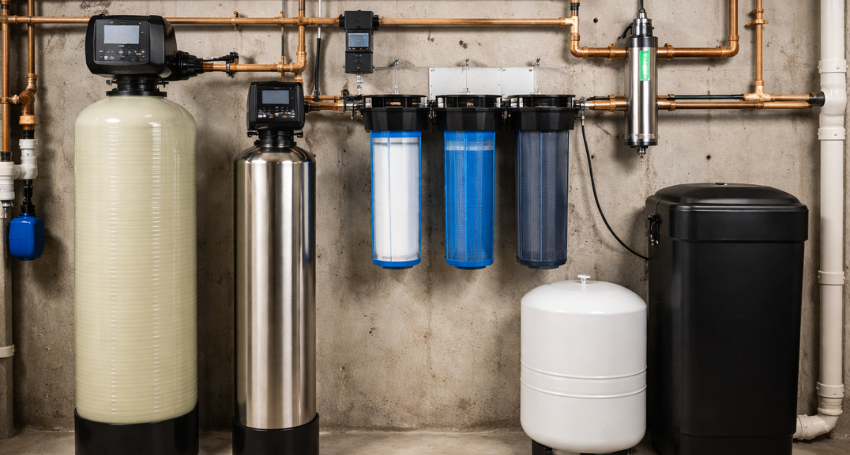
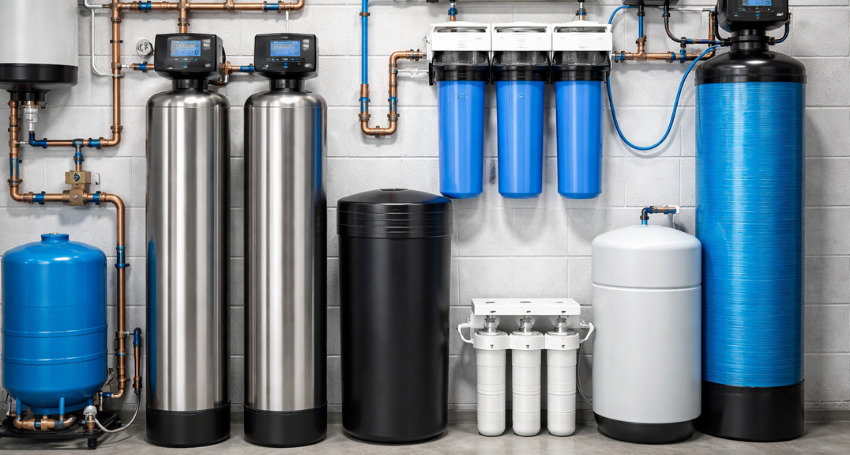
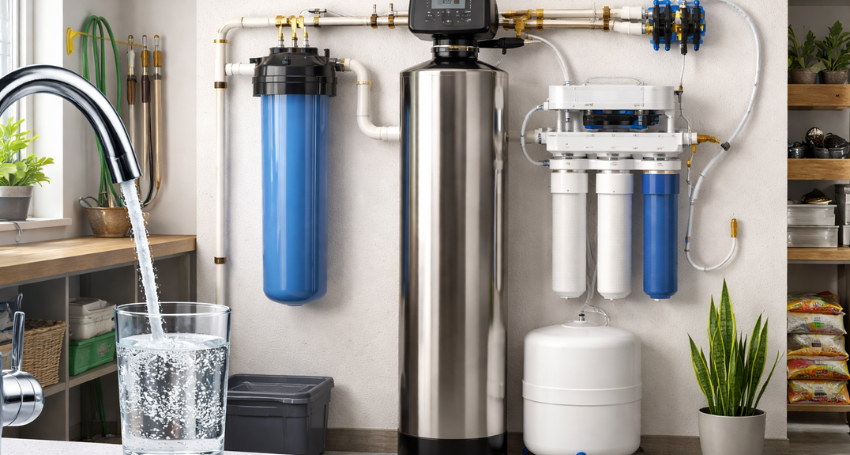
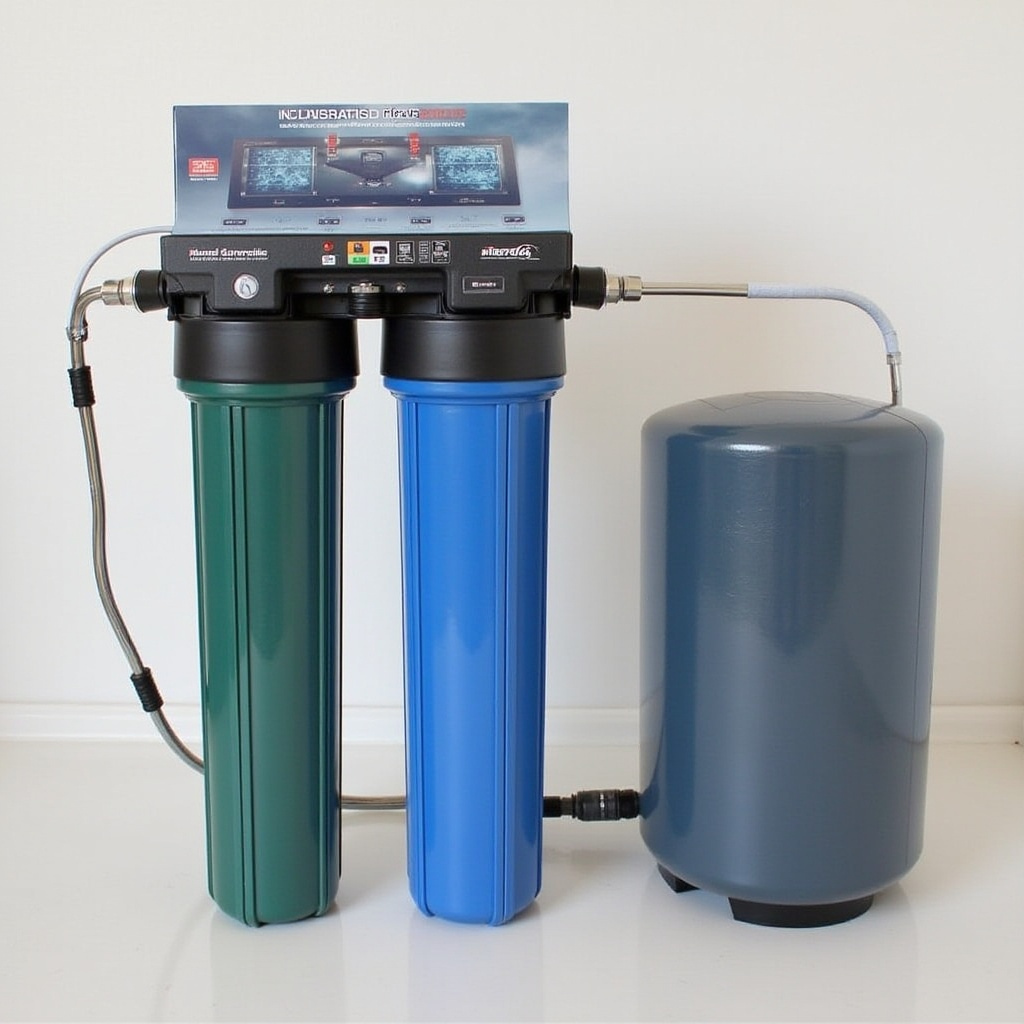
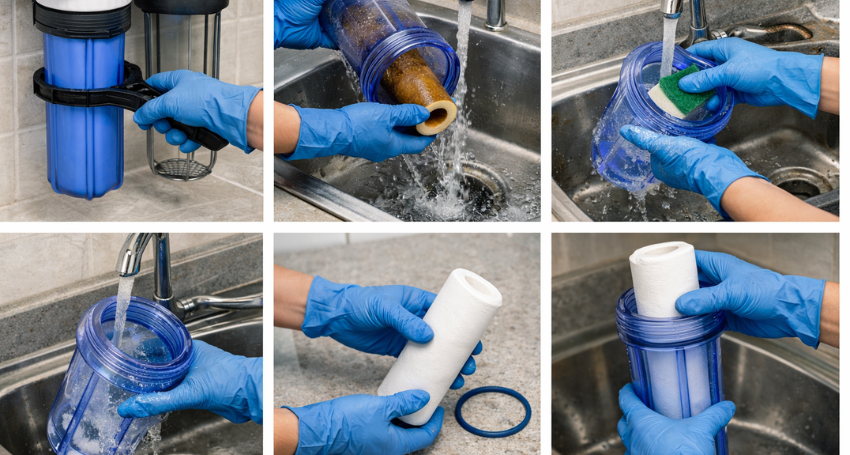
Clean, safe water starts with proper filter maintenance. If you’ve ever wondered how to Clean Water Filter Housing & Install Cartridges, you’re not alone. Many homeowners invest in quality filtration systems but overlook regular upkeep. As a result, performance drops, water pressure decreases, and contaminants may slip through. Fortunately, maintaining your water filtration system is straightforward when you follow the right process. In this guide, we’ll walk you through each step so you can protect your investment and ensure your water stays fresh and safe. Why Regular Filter Maintenance Matters Your water filter housing protects and supports the cartridge that removes sediment, chlorine, and other contaminants. Over time, debris builds up inside the housing. If you don’t clean it, bacteria and residue may accumulate, which affects water quality and system efficiency. Moreover, replacing cartridges without cleaning the housing can reduce the lifespan of the new filter. That’s why learning how to Clean Water Filter Housing & Install Cartridges properly is essential for long-term performance. Regular maintenance helps: Tools You’ll Need Before You Start Before beginning the cleaning process, gather the necessary tools to avoid interruptions. Basic Supplies Preparation ensures the process runs smoothly and reduces the risk of leaks or improper installation. Step-by-Step: How to Clean Water Filter Housing & Install Cartridges Step 1: Turn Off the Water Supply First, shut off the main water supply or the valve connected to your filtration system. Then, release pressure by opening a nearby faucet. This step prevents water spray when you open the housing. Step 2: Remove the Filter Housing Next, place a bucket under the filter housing to catch residual water. Use the filter wrench to carefully unscrew the housing. Turn it counterclockwise and lower it gently. If the housing feels stuck, double-check that the pressure has fully released. Step 3: Dispose of the Old Cartridge Remove the used cartridge and discard it according to local guidelines. Take a moment to inspect the housing for sediment buildup or discoloration. This inspection helps you determine whether your system is functioning efficiently or if you need professional service. Step 4: Clean the Filter Housing Thoroughly Now comes the critical part of how to Clean Water Filter Housing & Install Cartridges, cleaning the housing correctly. Wash the housing with warm water and mild dish soap. Use a soft brush or sponge to remove sediment and residue. Avoid harsh chemicals, as they may damage the plastic. After cleaning, rinse thoroughly to remove any soap residue. Then wipe the interior with a clean cloth and allow it to dry completely. For extra sanitation, you may use a diluted bleach solution (if approved by the manufacturer). Rinse thoroughly afterward to prevent chemical residue. Step 5: Inspect and Lubricate the O-Ring The O-ring creates a watertight seal. Remove it carefully and check for cracks, flattening, or wear. If damaged, replace it immediately. Apply a thin layer of food-grade silicone lubricant before placing it back into its groove. Proper lubrication prevents leaks and makes future removal easier. Step 6: Install the New Cartridge Insert the new cartridge into the housing, ensuring it sits centered and aligned. Some cartridges have directional arrows, so follow the manufacturer’s instructions carefully. When reinstalling the housing, screw it back on by hand first. Then tighten gently with the wrench. Do not overtighten, as this may damage the threads or O-ring. Step 7: Turn the Water Back On Slowly restore the water supply. Check for leaks around the housing. If you notice dripping, turn off the water and adjust the housing slightly. Finally, flush the system for several minutes to remove air pockets and carbon fines from the new cartridge. How Often Should You Clean and Replace Cartridges? Understanding how to Clean Water Filter Housing & Install Cartridges also means knowing when to perform maintenance. In general: However, water quality and household usage affect replacement frequency. If you notice reduced water pressure, unusual taste, or discoloration, inspect your system sooner. Common Mistakes to Avoid Even a simple maintenance task can cause issues if done incorrectly. Avoid these common errors: Paying attention to these details ensures your filtration system performs at its best. When to Call a Professional Although many homeowners handle routine maintenance themselves, complex systems may require professional attention. If you experience persistent leaks, pressure problems, or unusual noises, it’s best to seek expert help. Professional water treatment specialists can test your water, inspect your system, and recommend the ideal filtration solutions for your home or business. Conclusion Maintaining your filtration system doesn’t have to feel overwhelming. Once you understand how to Clean Water Filter Housing & Install Cartridges, you can confidently handle routine upkeep and protect your water quality. However, if you prefer professional assistance or need system upgrades, the experienced team at Central Florida Water Solution is ready to help. From whole-house filtration systems to commercial water treatment solutions, they provide reliable service tailored to your needs. Clean water is essential for your family, your property, and your peace of mind. Contact us, the experts, to ensure your water system performs safely and efficiently year-round.