

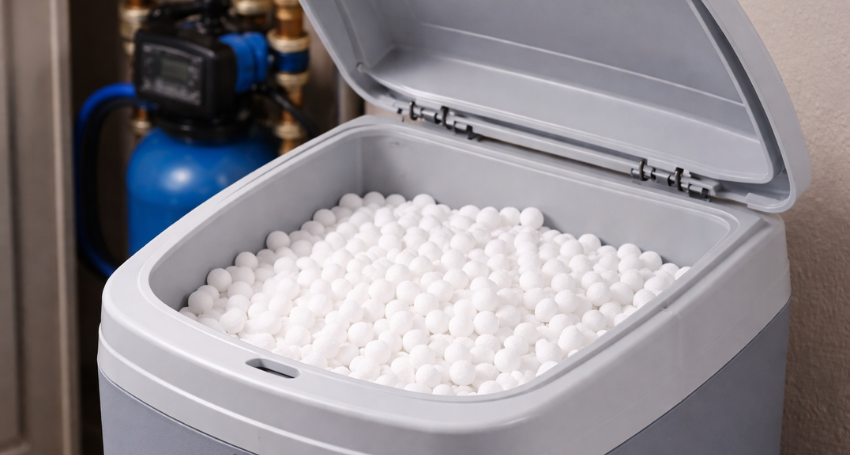
A water softener system plays a vital role in maintaining the quality of your home’s water by removing minerals like calcium and magnesium. One of the most essential components of this system is the salt tank, which helps regenerate the resin beads in the water softener. Over time, this tank can become damaged or worn out, affecting the overall performance of your water softener.
If you’ve noticed that your water softener isn’t working as efficiently as it once did, or if the salt tank has developed cracks or leaks, it might be time to replace it. In this blog, we will walk you through the steps of replacing a water softener salt tank to ensure your system continues to function optimally.
Why Replacing the Water Softener Salt Tank is Important
Replacing your water softener salt tank is crucial for the continued efficiency of your water softener. A worn-out or damaged tank can lead to a variety of issues, such as improper regeneration, a decline in water quality, or even system breakdowns. Regularly replacing the salt tank will not only maintain your system’s functionality but will also save you from costly repairs or replacements in the long run.
Ignoring the need to replace your salt tank can result in less effective softening of water, leading to scale buildup in pipes, appliances, and fixtures, which can shorten their lifespan.
Step-by-Step Guide to Replacing the Salt Tank
Follow these simple steps to replace your water softener salt tank effectively:
Step 1: Gather Necessary Tools and Supplies
Before you begin, ensure you have all the required tools and a replacement salt tank. You’ll need:
- A new salt tank that fits your water softener model
- A wrench or screwdriver (depending on the design)
- A towel or rag for cleaning
- A utility knife (if needed for packaging)
Step 2: Disconnect the Water Softener System
The first step is to disconnect your water softener from the power supply and water lines. This will help avoid any accidental water leakage or electrical issues. Be sure to turn off the water supply to your system before you begin the replacement.
Step 3: Remove the Old Salt Tank
Carefully remove the old salt tank from the water softener unit. Depending on the model, you may need to unscrew bolts or clips holding the tank in place. Take your time to ensure you don’t damage any other components in the process. If there’s any salt residue or debris in the tank area, clean it out with a damp cloth to prepare for the new tank.
Step 4: Install the New Salt Tank
Now that the old tank is removed, it’s time to install the new one. Place the new salt tank into position, making sure it fits snugly in place. Follow the manufacturer’s instructions for securing the tank to ensure it’s properly aligned. You may need to attach it to the system using bolts or clips.
Step 5: Reconnect and Test the System
After securing the new salt tank, reconnect the water supply and power. Turn the water supply back on and check for any leaks. Test the water softener to make sure it is functioning correctly, and confirm that the system regenerates properly. You may need to add salt to the tank before testing.
Common Mistakes to Avoid During Installation
Replacing a salt tank may seem simple, but there are a few common mistakes to watch out for:
- Improper Alignment – Ensure the new tank is properly aligned with the system to avoid leaks or inefficient performance.
- Failing to Clean the Tank Area – Residue or debris can affect the performance of the new tank. Make sure to clean the area before installation.
- Over-tightening – Don’t overtighten bolts or connections, as this can damage the tank or surrounding components.
When to Seek Professional Help
If you encounter any problems or if you’re unsure about the process, it’s always a good idea to seek professional help. At CFWSLLC, we offer expert assistance with water softener maintenance, including salt tank replacements. A professional can ensure that the new tank is properly installed and that your system is running at its best.
Conclusion
Replacing a water softener salt tank is an important part of maintaining your water softener system. By following these simple steps, you can ensure that your system continues to work efficiently and provides soft, clean water for your home. If you’re unsure about the replacement process or need professional help, don’t hesitate to contact us for expert assistance.